Why Is My Cabinet Paint Chipping?
Kitchen doors are working surfaces. Treat them like one.
Painted kitchen cabinets chip for a handful of reasons, and they are almost always about preparation and patience rather than bad luck: grease left on the doors, a glossy surface that was never keyed, a paint that was never made for cabinets, coats laid on too thick, or doors closed, handled and cleaned before the paint had cured. Kitchen doors are opened thousands of times a year, splashed, steamed and wiped. Here is how to work out what went wrong and fix it properly.
At a glance
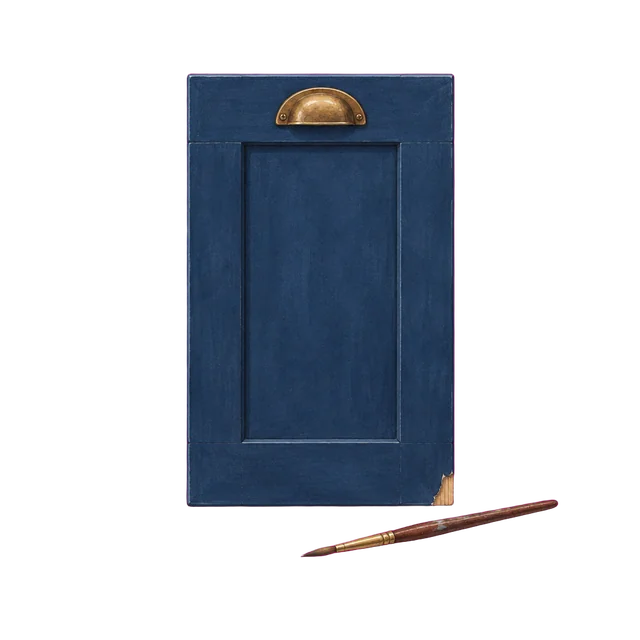
- Most chipping starts with grease, gloss or a surface that was never keyed.
- Wall paint is not cabinet paint: it is not made for handling and cleaning.
- Thin coats, 1–2 hours apart, beat one thick coat every time.
- Leave doors open for at least an hour, then go gently for 7 days.
- Small chips can be touched up; widespread lifting means starting the door again.
Why cabinet paint chips
Grease, gloss, the wrong paint, or too soon.
Grease is the big one. Kitchen doors carry years of cooking grease and hand oils, much of it invisible, and paint will not bond through it. A quick wipe with a household spray is not enough; the doors need a proper degrease with sugar soap, a rinse with clean water and a full dry. Next comes gloss: lacquered, varnished and melamine doors are smooth and non-porous, and without a thorough key with fine abrasive, paint has very little to hold.
Then there is the paint itself. Wall paint is made for walls, not for doors that are gripped, knocked and wiped every day. And finally, time. Paint can feel dry within the hour but takes days to reach its full adhesion and hardness. Doors rehung, closed against their frames and used normally in the first few days are the ones that chip at the edges.
Read the chip
What comes off, and where, shows the cause.
If a chip comes away cleanly to reveal the shiny original surface, the paint never bonded: the door was not degreased or keyed well enough. If chips appear only on leading edges and around handles, the finish was worn before it had cured, or the paint was not up to the job. If the surface underneath has lifted with the paint, such as a peeling foil or wrap, the problem is the door itself, and no paint can hold that down.
If you are unsure, check an inconspicuous spot on a door that has had at least a week to cure: press a strip of tape firmly on, leave it a minute and pull it off sharply. If paint comes away on the tape, the whole surface is poorly bonded, not just the chipped area.
How to repair chipped cabinet paint
Touch up small chips; strip back widespread failure.
For a few small chips on an otherwise sound finish, lightly sand the chip and its edges with 320 grit so there is no hard step, wipe with sugar soap, rinse and dry, then dab in thin coats of the same paint with a small brush, 1–2 hours apart. Stir the tin thoroughly first so the colour and sheen match.
If paint lifts easily in many places, touching up will only move the problem around. Take the doors off, remove the failing paint back to a firm surface and prepare from scratch: degrease with sugar soap, rinse, dry, sand until the surface is uniformly dull, remove every trace of dust and repaint.
Paint them so they last
Prepare well, paint thin, then let it cure.
Use a paint made for cabinets. Apply thin, even coats with a quality synthetic brush and a short-pile microfibre roller, allowing 1–2 hours between coats. Leave doors open for at least an hour after the final coat before closing them, and avoid heavy use and cleaning for 7 days while the paint reaches its full adhesion and hardness. Soft-close buffers stop doors slamming their edges into the frame.
How our cabinet paint helps
Self-priming and scrubbable, with honest limits.
Our Kitchen Cabinet Paint is self-priming, so on sound, previously painted doors that have been cleaned and keyed it bonds without a separate primer, and it builds a durable, Class 1 scrubbable film in Matt or Satin. For melamine and laminate, our Flat-Pack Paint is self-priming once the surface has been cleaned with sugar soap and sanded until uniformly matt. High opacity means two full coats usually give the true colour, though a big colour change can need a third.
We will not pretend any paint makes preparation optional. Full adhesion develops over the 7-day cure, so a fresh finish is fragile, especially on difficult surfaces like melamine. Bare wood and MDF need a primer, and varnished or oil-based finishes need an isolating primer. Our kitchen cabinet guide walks through every step.
Sample it the way we would
Step 1
Paint your peel-and-sticks
Each £5.99 sample comes with three paintable peel-and-sticks. Give them two coats and let them dry fully.
Step 2
Stick them around the room
Put them on two or three walls, including the wall opposite the window, at eye level and lower down.
Step 3
Live with them for a day or two
Look in the morning, the afternoon and under your evening lamps. Move them around until you are sure.
Your questions, answered
Do painted kitchen cabinets chip?
They can, but a well-prepared door, painted with a dedicated cabinet paint and given its full cure, should stand up to normal use. Most chipping goes back to grease, an unkeyed surface or using the doors too soon.
Can I use wall paint on kitchen cabinets?
We would not. Wall paint is not made for the handling, knocks and cleaning a kitchen door gets. Use a paint made for cabinets.
How long before I can use painted cabinets?
Leave the doors open for at least an hour after the final coat. Use them gently and avoid cleaning for 7 days while the paint reaches full adhesion.
Why is my cabinet paint peeling off in strips?
Strips usually mean the paint never bonded: a greasy or glossy surface that was not degreased and keyed. It needs stripping back and preparing again rather than touching up.
How to paint kitchen cabinets