How to Paint Kitchen Cabinets

Everything you need to repaint your kitchen cabinets like a pro β€” from preparation to the final coat.

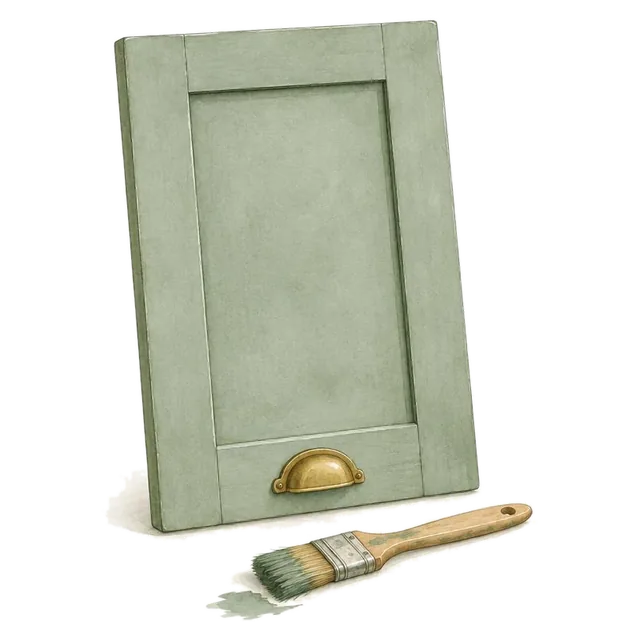
A complete step-by-step guide with all the products you need to achieve a beautiful, durable finish on your kitchen cabinets. Our self-priming kitchen cabinet paint is formulated to bond directly to most surfaces without a separate primer.

At a glance

  1. The three rules
    • Mix the tin thoroughly.
    • Label everything.
    • Degrease and sand.
  2. Step by step

    8 clear steps, start to finish.

  3. Questions

    12 common questions, answered.

The three rules

Rule one

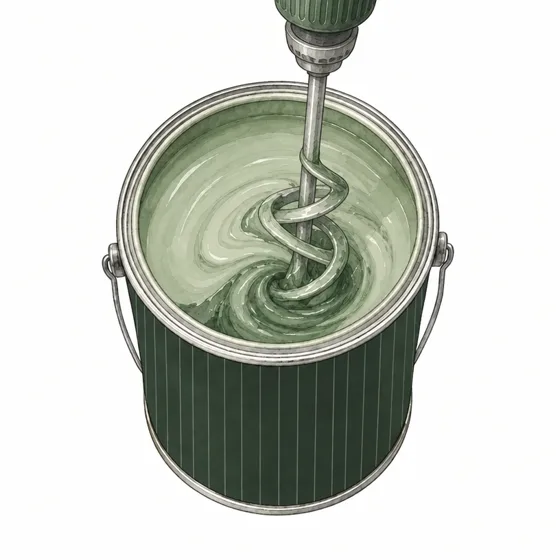
Mix the tin thoroughly, every time

Some pigments are heavier than others and settle over time.

Before you pour any paint, mix the tin thoroughly from the bottom. Heavier pigments slowly drop to the bottom of a tin that has been standing, so paint taken from the top can look different from paint further down.

Stir for one to two minutes, ideally with a drill and mixing paddle, or with a flat stirrer, scraping the bottom and sides until the colour is completely even with no streaks. Mix again each time you come back to the tin between coats.

Rule two

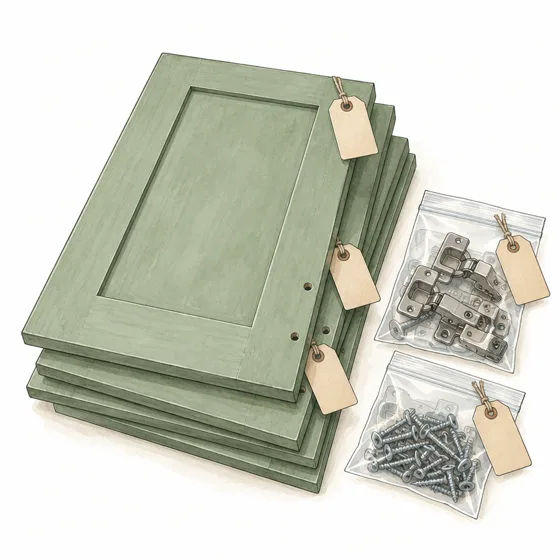
Label everything as it comes off

Every door and its hinges go back exactly where they came from.

Before you remove anything, number each door and drawer and note where it goes, and put its hinges and screws in a small labelled bag. Hinges are adjusted to their own door, so putting everything back in the same place saves a lot of realigning.

Stick the label somewhere that won’t be painted, such as inside the hinge recess, or keep a simple sketch of the kitchen with the numbers on it.

Rule three

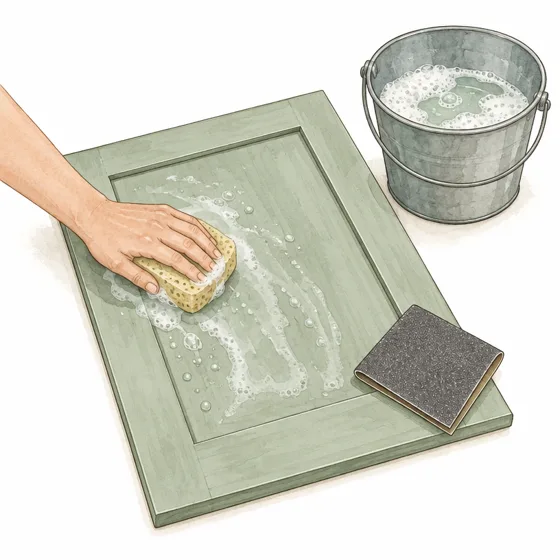
Degrease and sand before you paint

Paint can’t grip grease, and it grips best to a keyed surface.

Kitchen cabinets collect a film of cooking grease, even when they look clean. Paint cannot bond to grease, so wash every door, drawer front and frame with sugar soap or a degreaser, rinse with clean water and let it dry completely.

Then lightly sand to give the paint a key to grip, paying attention to edges and mouldings, and remove every trace of dust. Our cabinet paint is self-priming on most cabinet surfaces once they have been cleaned, degreased and keyed like this.

What you'll need

The paint

In the Toolkit for Painting Kitchen Cabinets

Step by step

  1. πŸ”§ Open each cabinet door and locate the hinge screws. Use a drill or screwdriver to remove them.
  2. 🏷️ Number each door and its corresponding cabinet frame with painter's tape β€” this saves hours during reassembly.
  3. πŸ—„οΈ Remove all handles, knobs and hinges. Store hardware in labelled bags.
  4. πŸͺ› If painting drawer fronts, remove the entire drawer and detach the front if possible.

πŸ“Έ Take photos before removing anything β€” they're invaluable during reassembly.

πŸ”’ Use a numbering system: "1L" for door 1 left hinge, "1R" for right.

  1. 🧴 Dilute sugar soap concentrate according to the label β€” typically 1 part to 5 parts warm water.
  2. 🧽 Using a sponge or cloth, wash all surfaces thoroughly, paying extra attention to areas near the hob and extractor.
  3. 🚿 Rinse each piece with clean water to remove all soap residue.
  4. ⏳ Allow surfaces to dry completely β€” at least 2 hours, or overnight for best results.

⚠️ Kitchen cabinets accumulate invisible grease layers. Don't skip this step β€” paint won't adhere to greasy surfaces.

πŸ”„ Work in sections to prevent the soap drying before you can rinse it off.

Products used:Sugar Soap Concentrate
  1. πŸͺ΅ Using 240-grit abrasive pads, lightly sand all surfaces in the direction of any existing grain.
  2. πŸ‘‹ You're not trying to remove the old finish β€” just scuffing the surface to create a mechanical bond.
  3. πŸ” Pay attention to edges and moulding details where paint is most likely to peel.
  4. 🏠 Sand the cabinet frames too, not just the doors.

✨ If the existing finish is glossy, this step is essential. Our self-priming paint bonds well to keyed surfaces.

😷 Wear a dust mask and work in a well-ventilated area.

Products used:Abrasive Sanding Pads (Pack of 5)
  1. 🧹 Unfold a tack cloth and gently wipe every sanded surface, folding as it picks up dust.
  2. ⬇️ Work methodically β€” top to bottom, front and back of each piece.
  3. ♻️ Replace the tack cloth when it becomes saturated with dust.
  4. πŸ”Ž Check edges and inside corners where dust accumulates.

🚫 A single speck of dust under your paint will be visible forever. Take your time here.

🧻 Avoid using a regular cloth β€” it won't pick up fine particles like a proper tack cloth.

Products used:Tack Cloths (Pack of 3)
  1. 🎯 Apply painter's tape to the cabinet frame edges if you're not painting the interior.
  2. πŸ›‘οΈ Protect worktops, splashbacks and appliances with dust sheets or plastic sheeting.
  3. πŸ“ If painting cabinet frames in situ, tape around the edges where they meet the wall.
  4. πŸ‘† Press tape edges down firmly to prevent paint bleeding underneath.

🎯 A precision painter's tape gives a noticeably crisper line than basic masking tape.

⏱️ Remove tape while the final coat is still slightly tacky for the cleanest lines.

Products used:Precision Painter's Tape
  1. πŸ”„ Stir your paint thoroughly β€” don't shake it, as this creates bubbles.
  2. πŸ«— Pour a small amount into your paint tray. Load the mohair roller and roll off excess.
  3. 🎨 Paint the flat faces of doors and drawer fronts with the roller for a smooth, even finish.
  4. πŸ–ŒοΈ Use the angled brush for edges, moulding profiles and any areas the roller can't reach.
  5. πŸ“ Apply thin, even coats β€” two thin coats are always better than one thick coat.

πŸ’¨ Maintain a wet edge to avoid lap marks β€” work quickly across each piece.

πŸ”ƒ Paint the back of doors first. Once dry, flip and paint the front.

πŸ† Our self-priming formula means no separate primer is needed on most surfaces.

Products used:Mohair Mini Roller SetAngled Cutting-In Brush (2")Paint Tray & LinerKitchen Cabinet Paint
  1. ⏰ Wait for the first coat to dry completely β€” recoat after 1–2 hours.
  2. 🫰 Check it is ready before recoating: wait out the recommended recoat time first β€” 1–2 hours, longer if conditions are cool or damp β€” then tap the dried coat very lightly with a fingernail, gently enough not to dent the film. It should feel and sound firm and hard. If it feels soft and sounds dull, a bit like tapping a pencil rubber, give it longer.
  3. πŸͺΆ Denib before the final coat: rub the dry first coat very lightly with 320–400 grit to knock back any dust specks or raised nibs, using hardly any pressure.
  4. 🧹 Run a tack cloth over the surface to remove the sanding dust.
  5. 🎨 Apply the second coat using the same technique β€” roller for faces, brush for details.
  6. πŸ‘€ Check for any missed spots, drips or runs before the paint sets.

🌈 The second coat is where the colour really comes to life and the finish becomes durable.

πŸ”„ If you can still see the old colour through two coats, a third thin coat may be needed for very dark-to-light colour changes.

Products used:Mohair Mini Roller SetAngled Cutting-In Brush (2")Kitchen Cabinet Paint
  1. ⏳ Allow the final coat to cure for at least 24 hours before handling.
  2. πŸ”§ Using your labelled system, refit each door to its original position.
  3. πŸͺ› Reattach all handles, knobs and hinges.
  4. πŸšͺ Check that doors open and close freely β€” adjust hinges if needed.
  5. πŸ“… Allow 7 days for full cure before heavy use (stacking items against doors, etc.).

🐌 Don't rush reassembly β€” the paint needs time to fully harden.

🀏 If a door feels slightly tacky, give it another day before fitting.

The paint

Highly Durable
Class 1 Scrubbable
Grease Resistant
Self-Priming
Touch dry30 mins
Recoat time1–2 hours
Full adhesion7 days
Key and denib with320 grit
Brush withSynthetic
Roll withMohair mini

What paint should I use on my kitchen cabinets?

Our Kitchen Cabinet paint is specifically formulated for kitchen joinery β€” cabinet doors, frames, and built-in storage. It is available in all 180 colours across our palette in matt and satin finishes. Kitchens accumulate grease and cooking residue that is not always visible to the naked eye. Thorough cleaning is essential β€” more so here than almost anywhere else in the home. Clean all surfaces with a sugar soap solution, rinse with a clean wet microfibre cloth and dry off completely. Sand lightly to create a key. On laminate doors, sand more firmly and for longer β€” laminate is a plastic surface and requires a rougher key than wood or MDF for paint to adhere correctly. Do not skip this step on laminate. If the surface has not been adequately keyed, the paint will not stick.

Do I need to remove cabinet doors before painting?

We recommend removing cabinet doors before painting where possible. It makes the job significantly easier and allows you to paint edges and backs cleanly. If you are only painting the fronts, doors can be left in place.

How do I avoid drips and runs when painting cabinet doors?

When painting doors vertically β€” whether on or off the cabinet β€” take care to avoid drips and runs, particularly on edges and around any raised detail. A loaded brush or roller on a vertical surface will run if the paint is applied too heavily. Build the coverage in thin, even coats rather than trying to achieve full coverage in one pass.

What tools should I use to paint kitchen cabinets?

Use a short pile microfibre roller on flat surfaces and a good quality synthetic brush for edges and frames. Apply two coats, allowing 1–2 hours between coats. Synthetic bristles perform significantly better than natural bristles with water-based paint β€” natural bristles absorb water, swell and lose their shape, making a clean finish much harder to achieve.

How many coats do I need on kitchen cabinets?

Our Kitchen Cabinet paint is a two-coat system. Two full coats applied correctly will give you the true colour, correct finish, and maximum durability. If you are painting a light colour over a significantly darker one, a third coat may be necessary to achieve a clean result. Budget for this when ordering.

How long do I need to leave cabinet doors before closing them?

Leave cabinet doors open for at least 1 hour after the final coat before closing. The paint will continue to harden over the following 7 days β€” avoid heavy use, cleaning, or placing objects against painted surfaces until the full cure period has passed.

How should I prepare kitchen cabinet surfaces before painting?

Kitchens accumulate grease and cooking residue that is not always visible to the naked eye. Thorough cleaning is essential. Clean all surfaces with a sugar soap solution. Rinse with a clean wet microfibre cloth β€” use a microfibre specifically, as other cloths can leave lint on the surface. Dry off completely. Sand lightly with 180–240 grit sandpaper to create a key. Wipe down again with a damp microfibre after sanding. For laminate doors, sand more firmly and for longer. Laminate requires a rougher key than wood or MDF for paint to adhere. Do not skip this step β€” if the surface has not been adequately keyed, the paint will not stick.

Can I paint laminate kitchen cabinet doors?

Yes, but laminate requires more thorough preparation than wood or MDF. Laminate is a plastic surface and paint will not adhere without a proper key. Sand the surface firmly and for longer than you would a wooden door, until the laminate feels visibly dull and rough to the touch. Clean with sugar soap, rinse with a clean wet microfibre cloth, and dry off completely before painting. Do not skip or reduce the sanding step on laminate. If the surface has not been adequately keyed, the paint will not stick.

Do I need a primer for kitchen cabinets?

In most situations where you are repainting cabinets in sound condition, a separate primer is not necessary. Our Kitchen Cabinet paint is self-priming on previously painted surfaces that have been correctly prepared. A primer is advisable in the following situations: β€’ Bare, uncoated MDF or wood β€’ Surfaces with staining, water damage or heavy discolouration β€’ Any surface where a stain-blocking barrier is needed We stock a primer suitable for all of the above. It is available to add to your order on any product page.

How do I clean painted kitchen cabinet surfaces?

All our paints achieve at least a Class 1 scrub rating, and our Kitchen Cabinet paint is fully scrubbable and wipeable. For most marks and everyday cooking residue, a slightly damp microfibre cloth is all that is needed. Soap and water is sufficient for more stubborn marks. Avoid chemical cleaners, abrasive cloths or scouring pads. Our paint is engineered to release marks with minimal effort β€” aggressive scrubbing is unnecessary and will damage the paint film over time.

Can I touch up kitchen cabinet paint later?

Yes β€” but stir the tin thoroughly before touching up. Pigment settles over time and paint that has been sitting in a tin will not be the correct colour until it has been fully mixed. Stir for 1–2 minutes using a drill with a mixing paddle before touching up. If you apply paint from an unstirred tin, the touch up will be a different colour to the cabinet. Worse, the paint removed from the top of an unstirred tin is not representative of the full mix, meaning the remaining paint in the tin will also be the wrong colour going forward. This is why we recommend ordering 10% more paint than your calculated requirement and keeping the surplus sealed.

Will my kitchen cabinet paint colour be consistent if I order more tins later?

Not guaranteed. Paint is made using naturally occurring raw materials that vary slightly from one production batch to the next. These shifts are small, but they can be visible when tins from different batches are used side by side. What we do guarantee is that every tin within a single order is made from the same batch of base and the same batches of colourant. If you order six tins at once, all six will be consistent with each other. Our firm recommendation: order 10% more than you need and keep the surplus sealed. Leftover paint from your original order is the only true match you will ever have for future touch-ups.