How to Paint Radiators

Everything you need to paint radiators and pipes properly — cooling the radiator, keying and cleaning, painting the wall behind, and two full coats of Radiator & Metal paint.

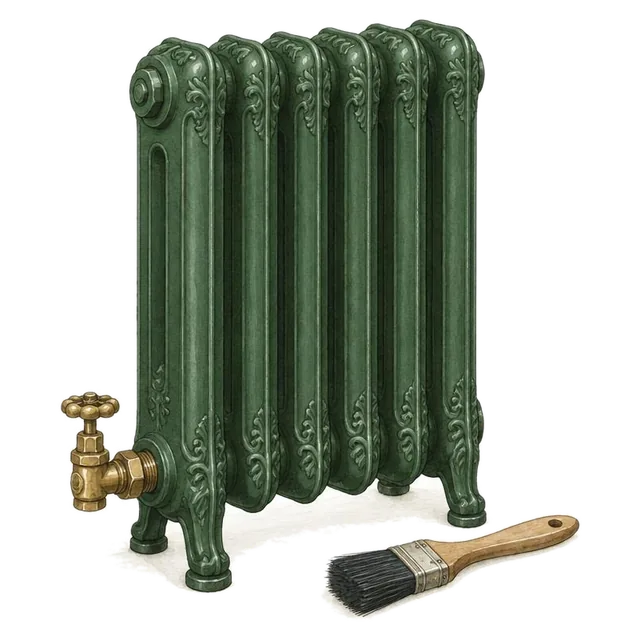
A freshly painted radiator in the right colour makes a bigger difference to a room than most people expect — and a tired, yellowed one in the wrong colour can undermine an otherwise well-decorated space. This guide covers repainting an already painted or primed radiator, painting the pipes, and getting paint behind the radiator without removing it.

At a glance

  1. The three rules
    • Only paint a cold radiator.
    • Use Radiator & Metal paint, well stirred.
    • Heating off 24 hours, then warm it slowly.
  2. Step by step

    17 clear steps, start to finish.

  3. Questions

    15 common questions, answered.

The three rules

Rule one

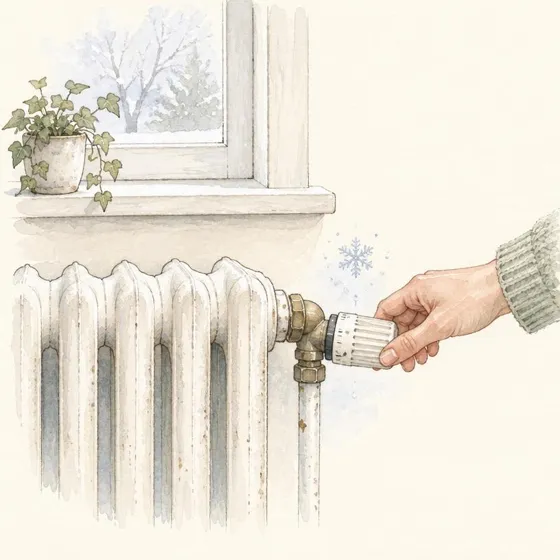
Only ever paint a cold radiator

Never paint a warm radiator.

Turn the heating off and let the radiator go completely cold before you start. Paint applied to a warm radiator dries too fast and leaves brush marks.

Keep it off while you prepare and paint.

Rule two

Use the right paint and stir it

Radiator & Metal paint, stirred for one to two minutes.

Use paint made for radiators and metal, and stir it thoroughly from the bottom of the tin for one to two minutes before you start.

Stir again between coats.

Rule three

Bring the heat up gradually

Give the paint time before the first heat.

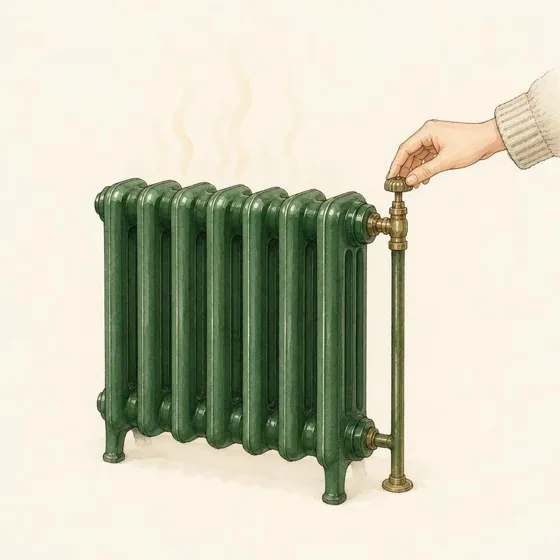
Leave the heating off for 24 hours after the final coat, then bring the radiator up to temperature gradually.

Avoid drying washing on the radiator until the paint has fully cured.

What you'll need

The paint

In the Toolkit for Painting Radiators

Not in the toolkit

Before You Start

  1. ❄️ Turn the heating off and allow the radiator to cool completely before you do anything else.
  2. ⚠️ Painting a warm or hot radiator makes the paint dry too fast, causing brush marks, poor adhesion and an uneven finish.
  3. 🕐 Allow at least a couple of hours after the heating goes off before touching the radiator.
  4. ☀️ Where possible, tackle this job in warmer months when the heating is off entirely.
  5. 🌬️ Ventilate the room while you work, but avoid painting in a strong draught.

🖐️ Check with the back of your hand across the whole panel — the top often stays warm longest.

📅 Plan the job for a run of mild days so the heating can stay off for the full cure.

  1. 🎨 Only use our Radiator & Metal paint on radiators — it is formulated to remain stable under the heat produced by standard domestic radiators.
  2. 🚫 Standard wall or woodwork paint will yellow, crack and peel under repeated heating and cooling cycles, regardless of what any tin claims.
  3. 🥄 Stir for 1–2 minutes with a drill and mixing paddle, or a stirring stick, before use.
  4. 🎯 Paint settles in storage — an unstirred tin will not give you the correct colour or consistency.
  5. 🫙 If you are matching the radiator to the wall, order a sample first and check it in the room light.

🔁 Stir again part-way through the job if you are working slowly.

🎨 A radiator painted the same colour as the wall almost disappears; a contrasting colour becomes a feature.

Products used:Radiator & Metal Paint

Preparation

  1. 🪚 Sand back any flaking or lifting areas with 120 grit sandpaper to remove all loose material.
  2. ✨ Finish those areas with 320 grit to smooth the transition between old and new.
  3. 🧻 Wipe down with a damp microfibre cloth and allow to dry fully.
  4. 🧴 Apply a coat of metal primer to any areas sanded back to bare metal before painting.
  5. 👌 If the existing paint is sound — no flaking, no bubbling — a light sand with 320 grit to create a key is all that is needed.

🔦 Use a torch at a low angle to find bubbling and lifting you would otherwise miss.

🪶 Feather the edges of sanded patches so there is no hard ridge under the new paint.

Products used:Sandpaper 320 GritSandpaper 120 GritMetal PrimerMicrofibre Cloths (Pack of 3)
  1. 🧹 Remove dust and cobwebs from the top and behind the fins first with a soft dusting brush or a vacuum with a brush attachment.
  2. 🧼 Wipe the entire radiator down with a sugar soap solution to remove dust, grease and heating-season residue.
  3. 💧 Rinse with a clean wet microfibre cloth and allow to dry fully.
  4. 🎗️ Mask carefully around the valves at each end, the thermostatic valve head and any pipe connections, pressing the tape edges down firmly.
  5. 📦 Mask the skirting board below the radiator and protect the floor with cardboard or a dust sheet.

🌡️ Never paint over a thermostatic valve head — it needs to sense room temperature accurately.

🧻 Rinse thoroughly; sugar soap residue left on the surface will interfere with adhesion.

Products used:Sugar Soap ConcentrateMicrofibre Cloths (Pack of 3)Premium Painter's TapeDust Sheet & Cardboard
  1. 🔧 Removing a radiator gives the best possible access for painting both the radiator and the wall behind it.
  2. 🪝 Some modern radiators have simple latch mechanisms that let them be unclipped from their wall brackets without draining the system — the radiator lifts away and can be rested on something at the right height while the pipes stay connected.
  3. 💨 You will need to bleed the radiator before removing it this way. If your radiator has this type of fitting it is well worth doing.
  4. 🚰 Removing a radiator completely — disconnecting it from the pipework — is a more involved job and not necessary for most repainting projects.
  5. ✅ For most situations, painting in situ gives a perfectly good result.

🪣 Keep a bowl and towels to hand if you bleed the radiator — there is always more water than you expect.

🧍 Unclipping a radiator is a two-person job; they are heavier than they look.

Painting

  1. 🎨 If you are repainting the walls at the same time, paint the wall behind and around the radiator before painting the radiator itself.
  2. 👀 The contrast between old and new wall colour behind a radiator is noticeable from certain angles.
  3. 🖌️ Radiator brush: a long, thin handle with a small angled head designed to reach into the gap. Measure the gap first — for most standard wall-mounted radiators a 25–38mm head works well.
  4. 🎢 Long-arm mini roller: lets you roll paint horizontally behind the radiator, reaching as far back as the roller will go. Touch up anywhere it cannot reach with the radiator brush.
  5. 1️⃣ One coat behind the radiator is sufficient for most situations — it will not be closely inspected.

📏 Measure the gap before buying a brush; too large a head will not fit and too small takes forever.

🧻 Tuck cardboard behind the radiator to catch drips running down the wall.

Products used:Radiator Brush (25–38mm Head)Long-Arm Mini Roller
  1. ⬇️ Always work from top to bottom so any drips run onto areas you have not painted yet.
  2. 🖌️ With a good quality synthetic brush, paint the top edge, the grille or top cover and the side edges first.
  3. 🪶 Load the brush moderately. Thin, even coats are the key to a smooth radiator finish.

💧 Drips and runs on a vertical surface are difficult to remove cleanly once dry, so lay off as you go.

Products used:Synthetic Brush SetRadiator & Metal Paint
  1. 🪶 Panel radiators: use a small synthetic brush to work paint into the channels between the fins, working it down each channel before moving on.
  2. 🏛️ Cast iron and column radiators: use a dogleg, angled head or nook-and-cranny brush — a long-handled brush with the head set at roughly 90 degrees — to reach between the columns and into decorative detail.
  3. 📐 Work methodically, channel by channel or column by column, always following the direction of the mouldings to minimise brush marks.

💨 On highly ornate radiators, spray application reaches every crevice a brush struggles with — see our spraying guide.

Products used:Radiator Brush (25–38mm Head)Synthetic Brush SetRadiator & Metal Paint
  1. 🎢 On flat-faced panel sections, a short pile microfibre roller gives the smoothest finish. Roll top to bottom and blend into the detail you have just brushed.
  2. 🖌️ On cast iron and column radiators, brush the front faces of the columns, laying off with light, vertical strokes.
  3. 🔦 Check the bottom edge and underneath with a torch before you finish the coat.
Products used:Synthetic Brush SetShort Pile Microfibre RollerRadiator & Metal Paint
  1. ⏰ Allow 1–2 hours between coats.
  2. 🫰 Check it is ready before recoating: wait out the recommended recoat time first — 1–2 hours, longer if conditions are cool or damp — then tap the dried coat very lightly with a fingernail, gently enough not to dent the film. It should feel and sound firm and hard. If it feels soft and sounds dull, a bit like tapping a pencil rubber, give it longer.
  3. 🔄 Apply the second coat in the same order: top and edges, then channels or columns, then the flat faces.
  4. 🪶 Keep it thin. Two thin coats look better and last longer than one heavy one.

🔦 Check your work with a light from one side after each coat — runs are far easier to see in raking light.

Products used:Radiator Brush (25–38mm Head)Synthetic Brush SetShort Pile Microfibre RollerRadiator & Metal Paint
  1. 🔩 Painting the pipes is optional. Freshly painted pipes can make the whole installation look far more considered, but the radiator is finished without them.
  2. 🎨 Our Radiator & Metal paint is suitable for both the radiator and its pipes.
  3. 📦 Mask the floor or skirting board beneath the pipes, and mask off pipe connections and valves rather than painting around them freehand.
  4. 🖌️ Use a small good quality synthetic brush and apply two thin coats, allowing 1–2 hours between each.

🌀 Work around the pipe in bands rather than up and down; it is easier to keep the coat even.

🎨 Painting pipes the same colour as the wall makes them recede visually.

Products used:Premium Painter's TapeSynthetic Brush SetRadiator & Metal PaintDust Sheet & Cardboard

Common Problems

  1. 💧 Apply thin, even coats and lay off gently with light strokes at the end of each section.
  2. 🖌️ Catch a forming run immediately with a lightly loaded brush. Once dry it needs sanding back and repainting.

🔦 Raking light from one side shows runs far more clearly.

  1. 🌡️ Make sure the radiator is completely cold before you start; warm metal makes the paint dry before it can level.
  2. 🪶 Use a good quality synthetic brush and apply thin coats, laying off in the direction of the mouldings.
  1. 🟡 Paints not designed for radiators can discolour with repeated heating. Use our Radiator & Metal paint, which is made for the job.
  1. 👕 Avoid placing clothes directly on a freshly painted radiator for at least 7 days. Repeated contact before the paint has cured will damage the finish.
  1. 🎗️ Remove masking tape while the paint is still wet, or once it is completely dry — never when it is part-cured.

🥄 Stir the tin again if you have been working for a while; settled pigment causes patchy colour.

After Painting

  1. ⏳ Leave the radiator off for at least 24 hours after the final coat.
  2. 🌡️ When you turn the heating back on, do so gradually — turn the valve slightly rather than switching to full heat immediately.
  3. 💪 A gentle first heat allows the paint to cure under heat and produces a harder, more durable finish.
  4. 👃 There may be a slight smell when the heating first comes on as the paint fully cures. This is temporary — ventilate the room well the first few times the heating runs.
  5. 📅 Allow the full 7 day cure period before the paint is considered fully hardened.

🧽 Do not clean the radiator during the cure period; afterwards a damp microfibre cloth is all it needs.

📦 Keep the leftover paint sealed and stirred for touch-ups — it is your only true colour match.

The paint

Heat Resistant
Class 1 Scrubbable
Waterbased
Ultra-low VOC
Touch dry30 mins
Recoat time1–2 hours
Full adhesion7 days
Key and denib with320 grit
Brush withSynthetic
Roll withMohair mini

What paint should I use on a radiator?

Only use our Radiator & Metal paint on radiators. It is specifically formulated to remain stable under the heat produced by standard domestic radiators, and it is available across all 180 colours. Standard wall or woodwork paint will yellow, crack and peel under repeated heating and cooling cycles, regardless of what the tin claims.

Does the radiator need to be cold before painting?

Yes. Turn the heating off and allow the radiator to cool completely before you do anything. Painting a warm or hot radiator causes the paint to dry too fast, which leads to brush marks, poor adhesion and an uneven finish. Allow at least a couple of hours after the heating goes off. Where possible, do this job in warmer months when the heating is off entirely.

Do I need to remove the radiator to paint it?

Usually not. For most situations, painting in situ gives a perfectly good result. Some modern radiators have simple latch mechanisms that allow them to be unclipped from their wall brackets without draining the system — the radiator lifts away and can be rested on something at the right height while the pipes stay connected. You will need to bleed the radiator first. If yours has this type of fitting, it is well worth doing. Disconnecting a radiator from the pipework entirely is a more involved job and not necessary for most repainting projects.

How do I paint the wall behind a radiator?

You do not need to remove the radiator. There are two approaches. A radiator brush has a long, thin handle with a small angled head designed to reach into the gap. Measure the gap behind your radiator first — for most standard wall-mounted radiators a 25–38mm head works well. A long-arm mini roller lets you roll paint horizontally behind the radiator, reaching as far back as it will go, with the radiator brush used to touch up anywhere it cannot reach. One coat is sufficient — it will not be closely inspected. Always paint the wall before the radiator.

How do I prepare a radiator for painting?

If the existing paint is flaking, bubbling or heavily yellowed, sand it back with 120 grit to remove the loose material, finish with 320 grit to smooth the surface, wipe down with a damp microfibre cloth and apply metal primer to any areas taken back to bare metal. If the existing paint is sound, a light sand with 320 grit to create a key is all that is needed. Then wipe the whole radiator down with sugar soap — paying attention to the top and behind the fins where dust accumulates — rinse with a clean wet microfibre cloth and allow to dry fully.

What should I mask before painting a radiator?

Mask carefully around the valves at each end of the radiator, the thermostatic valve head and any pipe connections, using premium painter's tape pressed down firmly at the edges. Mask the skirting board below the radiator and protect the floor with cardboard.

How do I paint between the fins of a panel radiator?

Use a small synthetic brush to work paint into the channels between the fins. Load the brush moderately and work it down into each channel before moving on. A small angled radiator brush is very useful for reaching into tight spaces without overloading the fins with paint. For flat-faced panel sections, a short pile microfibre roller gives a smoother finish, with a brush for the edges, top, bottom and detail.

How do I paint a cast iron or ornate radiator?

Cast iron radiators have detailed column sections and decorative features that are difficult to reach with a standard brush. A dogleg, angled head or nook-and-cranny brush — a long-handled brush with the head set at approximately 90 degrees — is designed for reaching into column sections and ornate detail. Work methodically column by column, always following the direction of the mouldings to minimise brush marks. For the most even result on highly ornate radiators, spray application reaches into every crevice a brush struggles to coat evenly.

Can I paint the radiator pipes as well?

Yes. Our Radiator & Metal paint is suitable for both the radiator and its pipes, and freshly painted pipes make the whole installation look far more considered. Use a small good quality synthetic brush and work around the pipe carefully. Mask the floor or skirting beneath the pipes first, and mask pipe connections and valves rather than painting around them freehand. Apply two coats, allowing 1–2 hours between each.

How many coats does a radiator need?

Two full coats, allowing 1–2 hours between coats. Build coverage in thin, even coats and do not overload the brush or roller — drips and runs on a vertical surface are difficult to remove cleanly once dry.

Why is my radiator paint yellowing?

Because the wrong paint has been used. Standard gloss or wall paint cannot handle repeated heat cycling and will yellow within months. Our Radiator & Metal paint is specifically formulated to resist yellowing under domestic heating cycles.

How do I avoid brush marks on a radiator?

Brush marks are usually caused by painting on a warm radiator or by using too much paint. Make sure the radiator is completely cold before starting, use a good quality synthetic brush, and apply thin coats, laying off gently with light strokes at the end of each section.

When can I turn the heating back on after painting?

Leave the radiator off for at least 24 hours after the final coat. When you do turn the heating back on, do so gradually — turn the valve slightly rather than switching straight to full heat. This lets the paint cure gently under heat and produces a harder, more durable finish.

Why does my radiator smell when I first turn it on after painting?

There may be a slight smell as the paint fully cures under heat for the first time. This is temporary. Ensure the room is well ventilated the first few times the heating runs. Allow the full 7 day cure period before the paint is considered fully hardened.

Can I dry clothes on a freshly painted radiator?

Not for at least 7 days. Repeated contact before the paint has fully cured will damage the finish. Once the full cure period has passed, the radiator can be used normally.