Should I paint the wall before or after fitting the panelling?
It depends on whether the wall colour is changing.
If the wall colour is changing — or you were planning to give it a fresh coat anyway — paint the wall first, before the panelling goes up. You can work freely, get right into the edges and corners without worrying, and it makes the whole job much easier. Once the wall is done and dry, fit the panelling on top.
If the wall colour is staying exactly as it is, fit the panelling first. Just take care around the edges when you come to paint the panelling later, or use masking tape to protect the wall.
Either approach works — it depends on what suits your project.
What paint should I use on wall panelling?
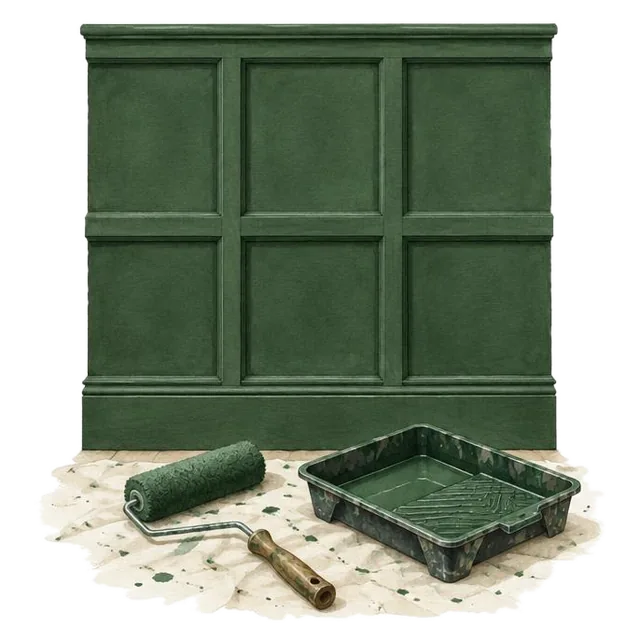
We recommend our Woodwork & Trim paint for all types of wall panelling — shaker panels, tongue and groove, beaded boards and flat MDF sheets.
It is specifically formulated for interior joinery, more durable than wall paint, and available in all 180 colours across our palette. Wall paint is not designed for joinery and will not stand up to the knocks and marks panelling attracts.
Which finish is best for wall panelling — Matt or Satin?
Use our specialist Trim & Woodwork Paint in Matt for a restrained, low-sheen look or Satin for a smooth lustre. Both launch finishes are Class 1 scrubbable. Dead Matt is reserved for Wall & Ceiling Paint, not panelling.
Do I need to prime new panelling?
No. Our Woodwork & Trim paint is self-priming, so a separate primer is not required on clean, prepared panelling, including bare wood and MDF.
If you want the very finest finish, you can prime first: a primer seals porous MDF edges so the top coats go on more evenly. Either way, denib lightly with 320 grit between coats to knock back raised fibres, and wipe away the dust before the next coat.
Why do MDF edges need extra attention?
MDF edges are far more porous than the faces and soak up the first coat quickly, so they may need an extra coat before they look as even as the faces. Run your finger over the edge once dry: if it still feels rough or porous, give it another coat.
The water in paint also makes MDF fibres swell and stand up after the first coat. This is completely normal. A feather-light denib with 320 grit between coats knocks them back, and later coats go on smoothly.
How do I fill and sand panelling before painting?
Once the panelling is fixed, look at the whole area — not just the panelling itself but the wall above it, the skirting board below it, and any joins where panels meet each other or meet the wall.
Fill any holes, dents or imperfections with a fine surface filler. A small flexible filling knife works best — press the filler in, smooth it off, and leave it slightly proud of the surface so you can sand it back flush once dry. Do the same for any holes or marks on the wall above the panelling and on the skirting board.
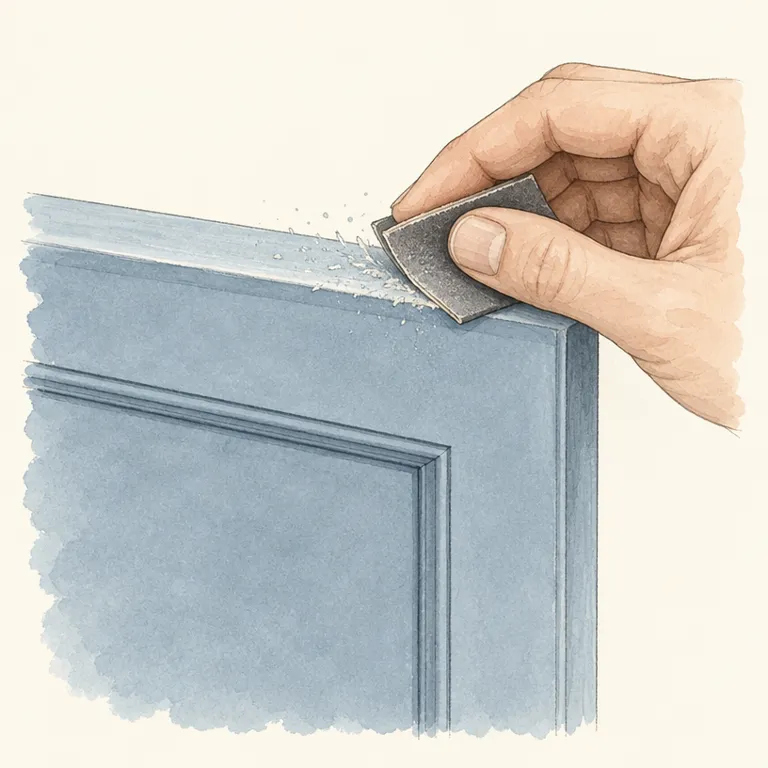
Allow the filler to dry fully before sanding back to a smooth, flush finish using 180–240 grit sandpaper.
Should I use sandpaper or a sanding sponge on panelling?
For flat surfaces, standard sandpaper works well.
For profiled panels — tongue and groove, beaded boards, shaker mouldings and anything with detail — use a sanding sponge instead. A sanding sponge flexes around the profile and removes the filler without flattening the detail that makes the panelling look good in the first place.
Use a sanding sponge again for the light denib between coats on any profiled areas.
Why is caulking the joins so important?
This is the step that separates a good finish from a great one.
Caulk fills the hairline gaps that filler cannot reach and prevents the finished paint from cracking along the joins as the wood expands and contracts with temperature change. It is a small step that makes a big difference.
How do I caulk panelling properly?
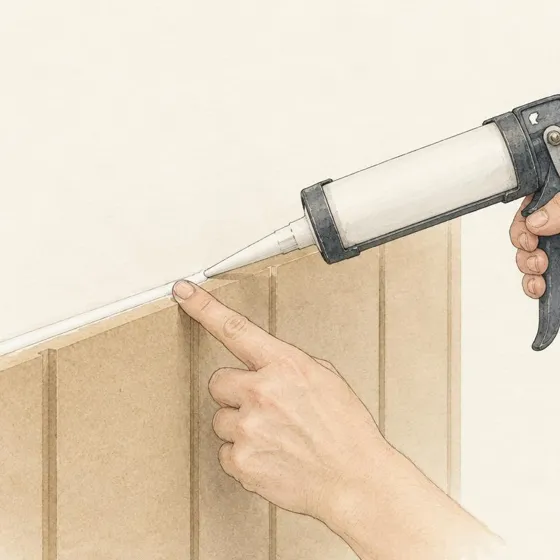
Run a bead of clear paintable decorator's caulk along every join — where panels meet each other, where the panelling meets the wall at the top and sides, and where it meets the skirting board at the bottom.
Smooth the caulk with a slightly damp finger and wipe away any excess. The goal is a clean, seamless seal — not a visible bead of caulk.
Allow the caulk to dry before painting. Most paintable decorator's caulk is ready to paint over within an hour or two — check the packaging to be sure.
What is the best order and technique for painting panelling?
Use a good quality synthetic brush for all the detail — the grooves, channels, beading and any raised or recessed areas. Work the paint into every corner before it starts to dry.
Then use a short pile microfibre roller to finish the flat faces of the panels. Working in this order — detail first, flat faces second — means any brush marks in the grooves are caught and smoothed as you roll the surrounding area.
How many coats does wall panelling need?
Apply two full coats, allowing 1–2 hours between coats.
Take care to avoid drips and runs, particularly on vertical surfaces — build up the coverage in thin, even coats rather than trying to do it in one heavy pass.
How do I get a clean line where the panelling meets the wall?
Cut in carefully along the top edge of the panelling using a brush.
If you want a really clean line, use the caulk trick: apply premium painter's tape along the top of the panelling, run a thin bead of clear caulk where the tape meets the wall, cut in with your brush while the caulk is wet, then peel the tape while the paint is still wet. Once cut in, roll the main wall field as normal.
Can I paint the panelling before fitting it?
Yes — and in tight spaces it is often the better approach. If your panelling is going into a confined area, inside a cupboard under the stairs for example, consider painting it before fitting.
It is much easier to paint a flat board on a workbench than to contort yourself into a small space with a brush. You will still need to fill, caulk and touch up the joins once it is fitted.
Does the panelling need to be fixed before I start painting?
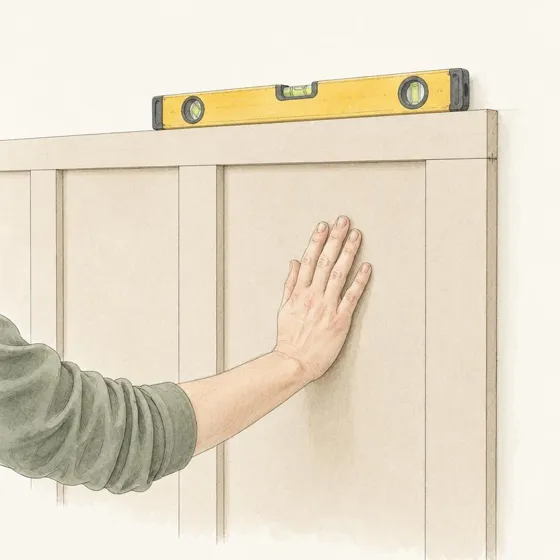
Yes. Whatever type of panelling you are using, it needs to be securely fixed before you reach for a paintbrush.
Use an appropriate panel adhesive for your surface type and follow the manufacturer's instructions. Make sure everything is level, square and firmly bonded before moving on. Painting over poorly fixed panelling will not make it look better — it will make problems harder to fix later.
What paint should I use on the wall above the panelling?
Use our Wall & Ceiling paint in your chosen colour and finish for the wall above the panelling, and our Woodwork & Trim paint on the panelling itself.
Paint the panelling first and let it dry, then cut in along the top edge of the panelling and roll the main wall field as normal.
How long before I can touch or clean painted panelling?
Leave the painted surfaces for at least 24 hours before touching them, and allow the full 7 day cure period before cleaning or subjecting them to everyday wear and tear.
How do I clean painted wall panelling?
All our paints achieve at least a Class 1 scrub rating, and Woodwork & Trim in satin is fully scrubbable and wipeable.
For most marks, a slightly damp microfibre cloth is all that is needed. Soap and water is sufficient for more stubborn marks.
Avoid chemical cleaners, abrasive cloths or scouring pads — aggressive scrubbing is unnecessary and will damage the paint film over time. Wait until the full 7 day cure period has passed before cleaning.
Why should I use a microfibre cloth to wipe down dust?
Always use a slightly damp microfibre cloth to remove sanding dust. Other cloths can leave lint on the surface, which will show through the finished paint and spoil an otherwise good job.
Can I touch up panelling paint later?
Yes — but stir the tin thoroughly before touching up. Pigment settles over time and paint that has been sitting in a tin will not be the correct colour until it has been fully mixed.
Stir for 1–2 minutes using a drill with a mixing paddle. If you apply paint from an unstirred tin, the touch up will be a different colour to the panelling — and the remaining paint in the tin will also be off going forward.
This is why we recommend ordering 10% more paint than your calculated requirement and keeping the surplus sealed.
Will my colour match if I order more paint later?
Not guaranteed. Paint is made using naturally occurring raw materials that vary slightly from one production batch to the next. These shifts are small, but they can be visible when tins from different batches are used side by side.
What we do guarantee is that every tin within a single order is made from the same batch of base and the same batches of colourant.
Our firm recommendation: order 10% more than you need and keep the surplus sealed. Leftover paint from your original order is the only true match you will ever have for future touch-ups.