How do I protect the room before painting?
Get the room ready before a single tin is opened. This step takes time but saves a significant amount of cleaning up later.
Remove as much furniture as possible. For anything that has to stay, cover it with plastic sheeting first, then lay a drop cloth on top — the plastic provides an impermeable barrier and the drop cloth absorbs any drips before they can run down the plastic onto uncovered areas.
Protect the floor, mask the woodwork, and deal with switches and sockets before you start.
How should I protect the floor?
Mask up to the base of the skirting board first, then lay cardboard or a drop cloth and tape it down firmly at the edges.
Do not rely on plastic sheeting alone on hard floors — wet paint drips down smooth surfaces quickly and can reach uncovered areas before you notice.
For carpets, push the carpet back from the skirting slightly if possible and slide a piece of cardboard underneath the edge. Tape your floor protection to the cardboard rather than directly to the carpet.
Should I mask the skirting boards and woodwork?
You have two options depending on your confidence level.
Masking tape along the top of the skirting and around door and window frames gives a clean boundary and removes the pressure of cutting in freehand. Use a premium painter's tape and press the edges down firmly.
Plastic sheeted masking paper taped over the skirting gives broader protection against roller splatter and is worth using if you are rolling close to the floor.
Any wall paint that lands on the skirting can be wiped off with a damp cloth — trim paint is less porous than wall paint and does not absorb it the same way.
What do I do about light switches and sockets?
Remove faceplates where possible and mask carefully around any fittings you cannot remove.
Depending on the fitting, turn off the electricity at the fuse box before unscrewing anything.
Can I paint a new build or new plaster straight away?
New builds are typically handed over with the advice not to paint for 6 to 12 months. This is because new plaster needs time to fully dry and settle, and using central heating heavily before it has done so can cause hairline cracking in the paint as the plaster shrinks and moves.
In practice, you do not have to wait that long — but you do need to be careful about how you heat the property. Keep the central heating low and ensure maximum ventilation during and after painting. Open windows wherever possible. The combination of high heat and poor ventilation is what causes cracking, not painting early in itself.
What is a mist coat and do I need one?
New plaster always needs a mist coat first. Thin your wall paint by 10–20% with clean water and apply one full coat.
This seals the porous surface and ensures your two standard top coats are absorbed evenly. Allow the mist coat to dry fully — 1–2 hours — before applying your first full coat.
Hairline cracks have appeared after the first winter. What should I do?
Do not be alarmed. Fill with a fine surface filler, sand smooth, and touch up with your remaining paint.
This is a normal part of a new build settling — another reason to order 10% more paint than you need and keep the surplus sealed.
Why do I need to stir the paint?
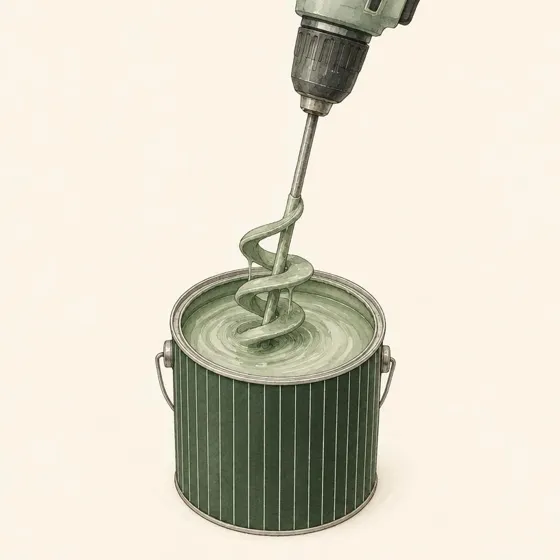
Before picking up a brush, stir every tin thoroughly for 1–2 minutes. Paint is a mix of various ingredients with different densities, and while we send every tin out well mixed and engineered to resist settling, components can separate over time — particularly in storage or transit. It is better to be safe than sorry.
Use a drill with a mixing paddle for the best result — it is faster, more thorough and more consistent than stirring by hand. If you do not have one, a stirring stick works well and we can supply one with your order. Work from the bottom of the tin upwards.
If you are painting over more than one day, stir again at the start of each new day.
How much preparation do existing walls need?
Walls do not generally attract dirt and grime in the way that woodwork does. A general dust down is usually all the preparation needed before repainting.
If the wall is visibly dirty or greasy — in a kitchen, for example — wipe down with a damp cloth or a mild soap and water solution, rinse and allow to dry fully. Always use a microfibre cloth, as other cloths can leave lint on the surface.
How do I fill and sand walls before painting?
Fill any holes, cracks or imperfections with a fine surface filler. Press it in with a small flexible filling knife, leave it slightly proud of the surface, and allow to dry fully. Sand back to a smooth, flush finish.
For a smoother result, sand the whole wall surface with a wall sanding pad before painting. Matt reflects a little more light than Dead Matt, so surface preparation matters.
Wipe away all dust with a slightly damp microfibre cloth.
Should I paint the ceiling or the walls first?
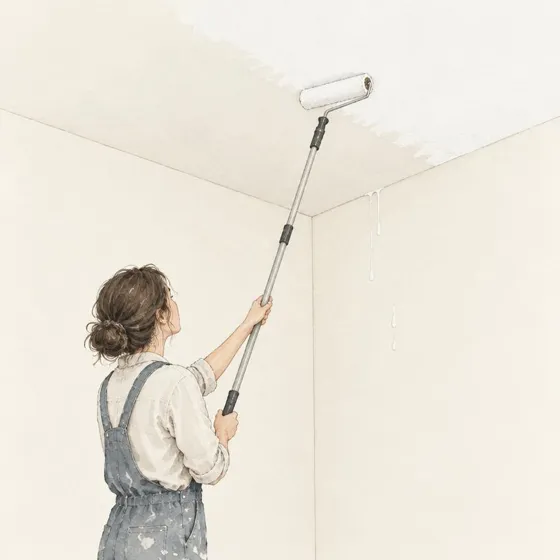
Always start with the ceiling. Paint from the top down — any drips or splatter onto the walls will be covered when you come to paint them.
Which finish is best for ceilings?
Dead Matt gives ceilings our lowest-reflection finish and helps draw less attention to surface unevenness. Wall & Ceiling Paint launches in Dead Matt and Matt, both Class 1 scrubbable. For kitchen and bathroom walls, use the corresponding specialist wall paint in Matt.
Which finish should I choose for walls?
Our Wall & Ceiling Paint launches in Dead Matt and Matt. Dead Matt has the lowest reflection; Matt offers a restrained sheen. Kitchen Wall Paint and Bathroom Wall Paint launch in Matt only. All our paint types are Class 1 scrubbable; choose the specialist formula for the surface.
Which roller should I use?
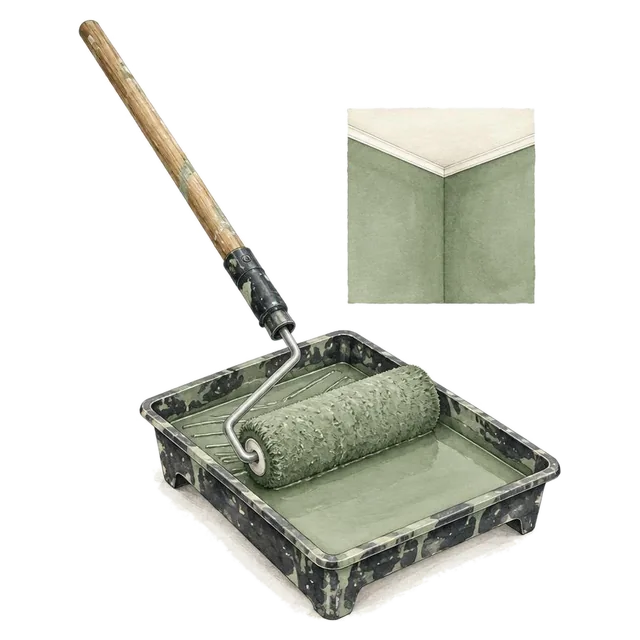
A medium pile microfibre roller is ideal for walls and ceilings — it holds enough paint for generous, even coverage across large flat surfaces.
A short pile microfibre roller is best for trim, woodwork and any more detailed or confined areas where a medium pile would be too unwieldy.
Always use a roller tray rather than decanting directly into a bucket — a tray allows you to load the roller evenly and remove excess paint before application. Use a tray liner to make clean up effortless.
How do I cut in the ceiling?
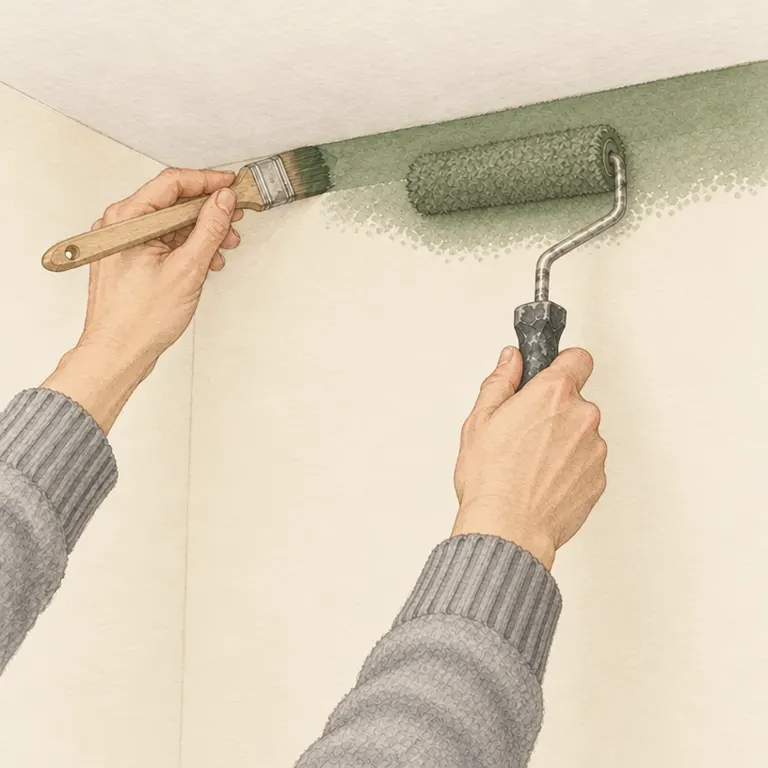
Work in sections, starting at the window wall. Cut in about a metre at a time with a good quality synthetic brush — where the ceiling meets the walls, plus any light fittings, coving or cornicing in that area — then roll that section straight away while the brushed edge is still wet.
Do not cut in the whole perimeter first: by the time you roll, the edges have dried and show as a frame around the ceiling (picture framing). Remove light fitting faceplates where possible before cutting in around them.
What is the best technique for rolling a ceiling?
Roll the main field using a medium pile microfibre roller on a high quality extension pole. A good pole is not a luxury — it allows you to apply consistent pressure from a comfortable standing position, reduces neck and back strain significantly, and gives far more control than working from a stepladder.
Load the roller generously and apply paint in a W pattern first to distribute it evenly, then lay off in parallel strips in the direction of the natural light entering the room. Working in the direction of the light makes any slight variation in coverage far less visible.
Always maintain a wet edge — rolling into wet paint rather than dry edges prevents lap marks.
Which direction should I roll the second coat?
Apply the second coat the same way as the first, and always finish by laying off in parallel strokes in the direction of the natural light from the main window. The final strokes decide how the ceiling looks in daylight, so they should run with the light rather than across it.
Reload the roller frequently — a roller running low on paint will drag and leave streaks.
Where do I need to cut in on the walls?
Work one wall at a time. Cut in around the ceiling line, architraves and door frames, window frames, and along the top of the skirting board on that wall using a good quality synthetic brush, keeping the brushed band narrow.
Then roll the wall straight away, while the edges are still wet, bringing the roller over the brushed area with your roller to blend it into the main field. This avoids picture framing, where the brushed edges look visibly different to the rolled sections once dry.
What is colour drenching and does it make the job easier?
Colour drenching is painting the ceiling the same colour as the walls. If you do this, you do not need to cut in at the ceiling line as precisely, which removes much of the pressure from one of the most technically demanding parts of the job.
It is increasingly popular with interior designers and is a great way to make a room feel more enveloping and considered. Our colour consultancy tool can help you assess whether your chosen colour will work well across all five surfaces of the room.
How do I get a clean line at the skirting board?
For a clean line at the skirting board, we strongly recommend the caulk trick: apply premium painter's tape along the top of the skirting, run a thin bead of clear caulk where the tape meets the wall, cut in with your brush while the caulk is wet, then peel the tape while the paint is still wet.
See our full room painting guide for step by step instructions.
What is the best technique for rolling walls?
Load the roller generously and apply paint to the wall in a W pattern to distribute it across a large area, then work back over it in straight vertical strokes to even out the coverage.
Work in vertical sections from ceiling to floor, always rolling into the wet edge of the previous section. Keep a wet edge at all times.
How many coats do walls and ceilings need?
Apply two full coats, allowing 1–2 hours between coats. Two full coats applied correctly give you the true colour, the correct finish and maximum durability.
How do I check the finish once I have finished painting?
Once both coats are dry, walk the room in good natural light and look for any thin spots, missed areas or visible lap marks. These are easiest to spot by looking across the wall at a low angle rather than straight on.
Touch up any areas with a small brush, making sure the tin has been thoroughly stirred first.
How long before I can use or clean the room?
Leave painted surfaces for at least 24 hours before light use, and allow the full 7 day cure period before washing or subjecting them to everyday wear and tear.
How do I clean painted walls?
All our paints achieve at least a Class 1 scrub rating, and our Wall & Ceiling paint in Dead Matt and Matt is scrubbable.
For most marks, a slightly damp microfibre cloth is all that is needed. Soap and water is sufficient for more stubborn marks.
Avoid chemical cleaners, abrasive cloths or scouring pads. Wait until the full 7 day cure period has passed before cleaning.
Will my colour match if I order more paint later?
Not guaranteed. Paint is made using naturally occurring raw materials that vary slightly from one production batch to the next. These shifts are small, but they can be visible when tins from different batches are used side by side.
What we do guarantee is that every tin within a single order is made from the same batch of base and the same batches of colourant.
Our firm recommendation: order 10% more than you need and keep the surplus sealed. Leftover paint from your original order is the only true match you will ever have for future touch-ups.