I spent years in the industrial coatings trade before starting Cameron Colours, and we design and test our paints to industrial standards that go well beyond the average home DIY product. Even so, every coating ever made is susceptible to chemical and physical wear and tear. What we have done is design ours to be easily cleaned and to resist both physical and chemical wear, so they do not need scrubbing hard with chemical cleaners to remove everyday marks. Every painted surface, however tough, is a thin film, and the way you clean it decides how long it keeps looking right. The two things that do the most harm are friction and harsh chemistry. Rub one spot hard, or attack it with a scourer or a melamine sponge, and you polish the surface of the film. On a matt finish that shows as burnishing: a shiny patch exactly where you cleaned, because you have flattened the texture that made the paint look matt in the first place. Keep going and you start to wear the film thinner. Strong cleaners cause a different kind of damage. Solvents, bleach and heavy-duty degreasers can soften, dull or mark a finish, and any detergent left on the wall dries as a film of its own, which can look like a shiny or streaky patch even when the paint underneath is fine. Matt finishes show all of this most readily, which is why decorators always start with the gentlest method that will shift a mark.
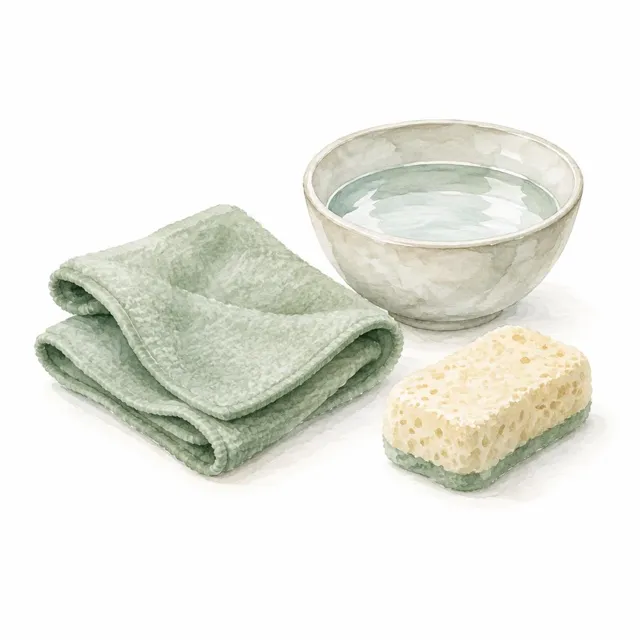
Our paints are scrubbable, rated Class 1 under the wet-scrub test standard, but scrubbable means you can clean them gently and often, not that you should scrub them hard. Here is how I do it. First, lift loose dust with a dry microfibre cloth or a cloth-covered mop, so you are not grinding grit into the surface. Then use a soft cloth or sponge wrung out in warm water with a little mild detergent, such as washing-up liquid. It should be damp, never dripping. Work on a small area with light pressure, let the water do the work, and rinse with a second cloth in clean water so no detergent residue is left behind. Dry with a soft cloth and look again in normal light. For greasy kitchen splashes, a mild washing-up liquid solution, or a weak white vinegar and warm water mix, usually works. On our paints, most everyday marks lift with a damp cloth and very little pressure, so there is no need to reach for anything stronger. Always test anything new on a hidden patch first, such as behind a door or inside a cupboard. Leave the scourers, abrasive creams, melamine sponges and solvent cleaners in the cupboard.
Paint that is is not finished. Water-based paint keeps hardening for days after it feels dry, which is the difference between drying and curing, so give a newly painted surface time before you clean it, and treat it gently for the first few weeks. On our self-priming paints, full adhesion builds over seven days, so wait at least that long before cleaning anything. Do not push furniture against fresh walls or put objects back on new shelves too soon either. And know when to stop: if a mark has soaked into the paint, rubbing harder will only burnish or wear the area around it. A light touch-up with the same paint, feathered out with a brush or small roller, is often the better answer than another round of scrubbing. That is why I always tell people to keep a little of the actual paint used on the job, sealed and labelled, rather than touching up from a sample pot. We keep very tight control over colour, but no two batches of any paint can be guaranteed to be exactly identical, so the paint from your own tin is the best match for your wall.
Always test any cleaner on a hidden area first. All coatings can be damaged by scourers, abrasives and harsh chemicals; ours are designed to clean easily without them.